
Keeping your car clean doesn’t always require professional services. With the right tools, products, and techniques, you can detail your car at home and achieve amazing results. This guide will walk you through every step of DIY car detailing.
Why DIY Car Detailing is Worth It
Saves Money: Professional detailing can be expensive; doing it yourself is cost-effective.
Custom Schedule: You can detail your car whenever needed, without waiting for an appointment.
Learning Experience: You’ll understand your car better and notice areas that need extra care.
Tools and Products You’ll Need
Before starting, gather these essential items:
Microfiber Cloths – For streak-free wiping and polishing.
Soft Brushes – For cleaning vents, wheels, and crevices.
Car Shampoo – Gentle and safe for your paint.
Clay Bar Kit – Removes embedded dirt and contaminants.
Car Wax or Polish – Protects paint and adds shine.
Vacuum Cleaner – For carpets, seats, and trunk.
Glass Cleaner – For windows and mirrors.
Leather or Fabric Cleaner – For interior surfaces.
Step-by-Step DIY Car Detailing Guide
Step 1: Exterior Wash
Rinse your car thoroughly to remove loose dirt.
Use car shampoo with a microfiber mitt to wash the entire surface.
Rinse and dry with a soft microfiber towel to avoid water spots.
Step 2: Clay Bar Treatment
Apply a lubricant spray on the paint.
Rub the clay bar gently over the surface to remove contaminants.
Wipe clean with a microfiber cloth.
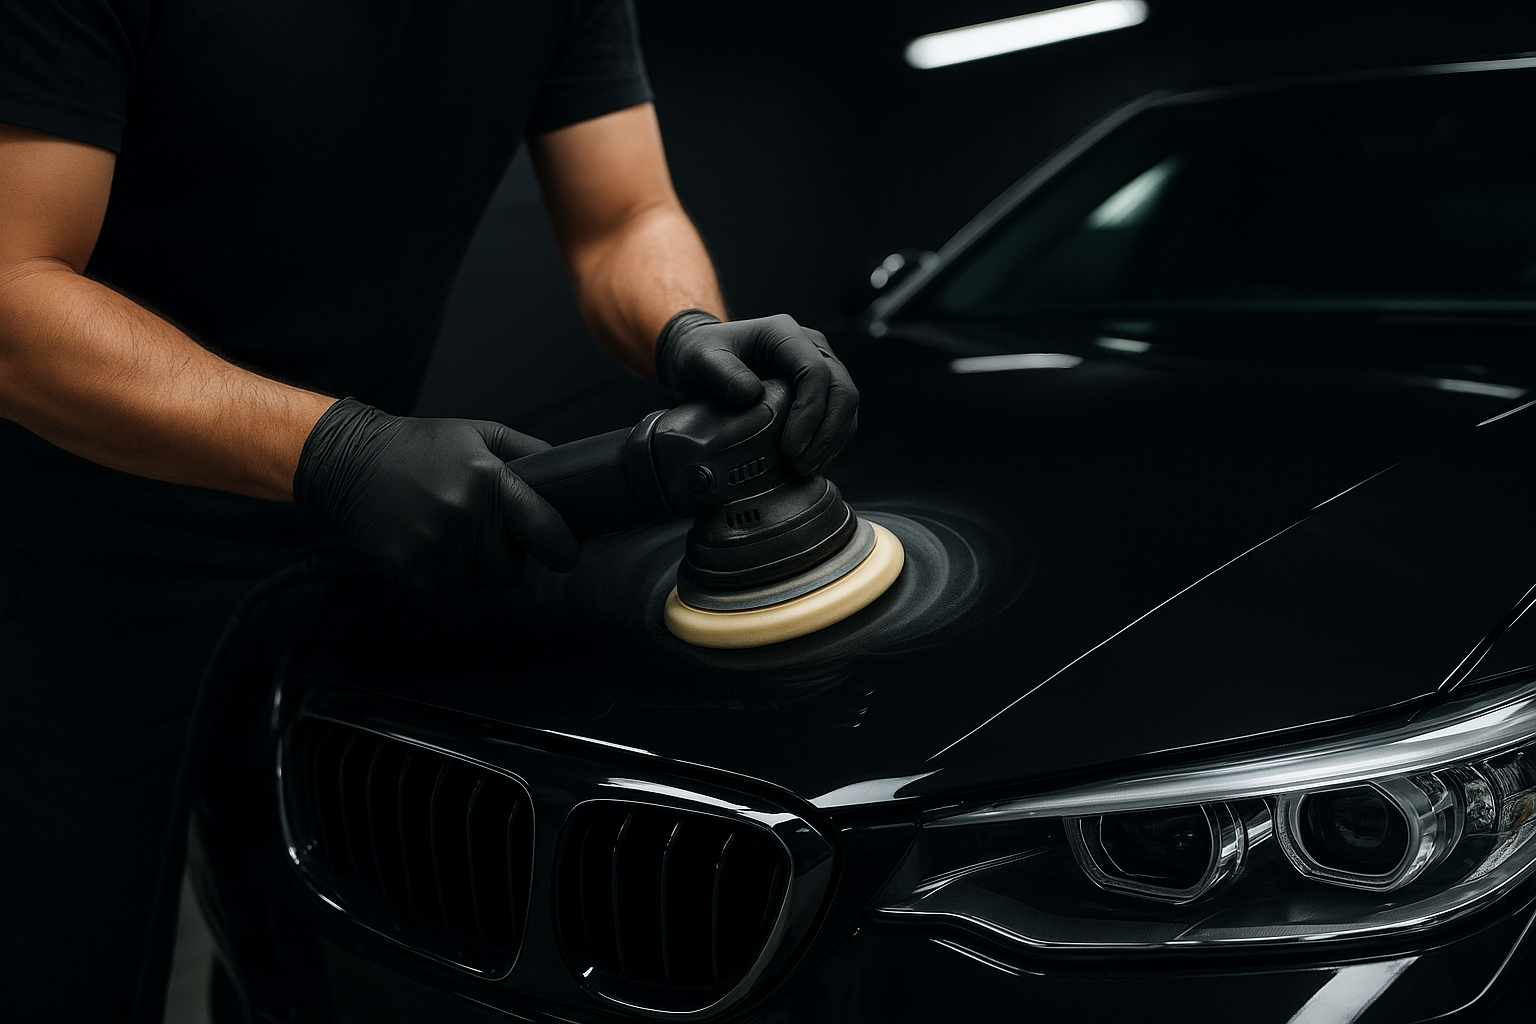
Step 3: Polishing and Waxing
Use a car polish to remove minor scratches and swirl marks.
Apply wax to protect the paint and enhance shine.
Step 4: Interior Cleaning
Vacuum carpets, seats, and storage areas.
Wipe dashboards, doors, and panels with a suitable cleaner.
Use a leather conditioner or fabric protector for seats.
Step 5: Wheels and Tires
Clean rims with a dedicated wheel cleaner and brush.
Apply tire dressing for a glossy finish.
Step 6: Windows and Mirrors
Use a glass cleaner for streak-free clarity.
Don’t forget the interior glass surfaces!
Tips for Best Results
Always work in a shaded area to prevent soap and wax from drying too quickly.
Use separate cloths for glass, paint, and interior to avoid scratches.
Detail your car regularly—every 3–4 months for optimal protection.
Don’t forget the hidden spots like under seats and door panels.
Common DIY Mistakes to Avoid
Using household detergents instead of car shampoo.
Skipping drying—water spots can damage paint.
Overapplying wax or polish.
Ignoring interior detailing—dust and dirt can build up quickly.
Conclusion
DIY car detailing is not only rewarding but also keeps your car in pristine condition without breaking the bank. With the right tools, patience, and attention to detail, your vehicle can look just as good as a professionally detailed car.
Call to Action
Shine That Lasts, Protection That Matters
Experience premium car detailing with ceramic & graphene coatings, PPF, and wraps designed to keep your car looking brand new. From paint protection to luxury interior care – we deliver perfection, every time.
